

Window Treatments for Whole House: How to Plan, Mix and Phase the Project
Moving into new construction or redoing every window at once? Here's how to plan window treatments for a whole house: what to mix, what to keep consistent, which rooms come first, and how to phase it.

In this guide
Close on a new build in Central Florida and you notice it within a week. The bare windows face the street, the west sun comes into the living room by late afternoon, and the builder's paper shades are already curling. You could fix it one room at a time. But planning window treatments for the whole house in one go usually gives you a better-looking home, a more consistent view from the street, and fewer decisions to make again later. This guide connects the room-by-room advice we've written into a single plan. It's for new-construction move-ins and for owners replacing every window treatment at once.
Start with the house, not the window
Before you pick a fabric, walk the house and note three things for each window: which way it faces, who can see in, and what the room is used for. Those three answers decide most of the plan. A west-facing great room needs heat and glare control. A street-facing bedroom needs privacy and room darkening. A kitchen window over the sink needs something that can handle moisture. Our custom window blinds and shades are specified window by window from that kind of walk-through.

One Product Throughout or a Mix by Room?
This is the first question most homeowners ask, and for most Orlando homes the honest answer is both. Keep one product family, color or style on the windows that are seen together. Then let each room's job decide the rest. One product everywhere looks calm, but it rarely does every job well. A light-filtering roller shade that suits a family room won't darken a bedroom, and a blackout shade in the kitchen makes the room feel closed in. If you mix with no plan at all, the house can look like a showroom sampler.
A pattern that works in many Central Florida floor plans: solar or custom roller shades in the open living, dining and kitchen area, room-darkening cellular or Roman shades in the bedrooms, and a shade designed for wide openings on the sliders. Plantation shutters or drapes go in the one or two rooms where you want a more finished, formal look. If you're torn between product types, our guide to plantation shutters vs. blinds vs. shades covers the trade-offs in detail.
Keeping the Street View Consistent for Curb Appeal and HOA Rules
From the sidewalk, nobody sees your fabric pattern. They see the side of the window treatment that faces the glass. A whole-house plan should make that outward face consistent on every street-facing window, usually a white, off-white or neutral backing, even when the room-side color changes from room to room. Many shade fabrics and liners can give you a neutral face to the street and a different color inside.
- Match the outward color and the mount style on every front-facing window so the facade reads as one design.
- Keep bottom rails at similar heights when the shades are raised. It looks tidier from the curb.
- Choose the same product type on windows that sit side by side, even if one belongs to a different room.
- Check your community's guidelines before you order. Our HOA rules for blinds guide explains what associations typically regulate and how to choose within the rules.
“Plan the outside of the house as one design and the inside room by room. That one rule solves most whole-house window decisions.”
Which Rooms Come First for Heat and Privacy
If you're phasing the project, rank rooms by sun exposure and privacy, not by which room you like best. In Central Florida, west- and south-facing glass takes the hardest afternoon sun, and that heat and glare reach furniture, floors and your cooling system. Our article on the best window treatments for Orlando sun and heat explains which fabrics and constructions do the most work.
A practical priority order

Bedrooms: where layering earns its place
A bedroom often needs two jobs from one window: soft daylight in the morning and real darkness at night. Layering a light-filtering shade with a room-darkening one, or pairing a shade with drapes, covers both. For nurseries and kids' rooms, choose cordless or motorized operation. The CPSC warns that window covering cords are a strangulation hazard for young children. If you're weighing motorization for hard-to-reach windows, read our honest review of motorized blinds.
Room-by-room starting points
How to Budget and Phase a Whole-House Project
Every home is different, so we don't publish prices. Each project is quoted free at the in-home design visit, with a design and a fixed, itemized quote that lists every window. What changes the total is easy to understand. It comes down to the number and size of windows, the product chosen for each one, the fabric and opacity, specialty shapes and very large openings, layering (a shade plus drapes counts as two treatments), and motorization. Because the quote is itemized, you can see exactly how each choice moves the number.
That itemized quote is also your phasing tool. A common approach is to treat the priority rooms above in the first phase, using the full plan so later rooms match. You then add the remaining rooms using the same fabrics and colors. You can also put premium products such as shutters or motorized shades in one or two showcase rooms and use simpler shades in secondary rooms. Some owners do the whole house at once to keep everything matched, and most homes are installed in a single day. Whichever you choose, approve the whole-house design first so phase two looks like it was always part of the plan.
Don't leave the big glass for last
Sliding doors and picture windows are often the largest single items on the quote and the most visible from inside. They also let in the most heat. Planning them early keeps the main living area consistent. Our guide to blinds for large picture windows covers keeping the view while cutting glare.

What to Have Ready Before the In-Home Measure
A whole-house visit goes much faster when you've thought through a few things ahead of time. You don't need to measure anything yourself. Our team measures every window during the visit. Still, it helps to understand the choices we'll ask you about, especially how each window will be mounted.
How to prepare for a whole-house window treatment measure
- Walk every room and note how it's used, which way it faces, and whether it needs privacy, darkness or glare control.
- Mark the street-facing windows and gather your HOA's guidelines for window coverings, if your community has them.
- Clear the window sills and move furniture back enough to reach every window, including sliders and high windows.
- Think about inside mount (fitted within the window frame for a clean, built-in look) vs. outside mount (mounted above and beyond the frame for more coverage and light blocking). Note any windows with shallow frames or obstructions such as alarm sensors and handles.
- Collect paint colors, flooring samples or photos of your furniture so fabrics can be compared in your own light.
- Decide which rooms need cordless or motorized operation, especially nurseries and kids' rooms.
- Make a rough list of must-have rooms and nice-to-have rooms so the quote can be phased.
- If you've taken any measurements yourself, measure twice, then let our team confirm. Final measurements are always taken by the installer.
Moving into a new build? Plan your custom closet design around the same time. Many owners schedule closets and window treatments together so the whole house comes together at once. If humidity is a concern in baths and laundry rooms, see the best blinds for Orlando's humidity.
Window treatments to mix across a whole house
- Keep one consistent look on windows seen together and from the street, then choose each room's product for its job.
- Give every street-facing window the same outward color and mount style, and check HOA guidelines before ordering.
- Treat street-facing bedrooms and west- or south-facing living areas first for privacy and heat control.
- Use the free, itemized in-home quote to phase the project: approve the whole-house design, then add rooms over time.
- Choose cordless or motorized operation for child safety, and let the installer take the final measurements.
Made to measure
Explore the styles
- ShadesRoller ShadesClean, simple shades in light-filtering, room-darkening or blackout fabrics.View details
- ShadesZebra ShadesAlternating sheer and solid bands you line up to adjust light and privacy.View details
- ShadesRoman ShadesFabric shades that fold into soft layers as they rise.View details
- ShadesSheer ShadesSoft fabric vanes between two sheer layers that tilt for view or privacy.View details


Frequently asked questions
Should every window in my house have the same window treatment?
How do I keep my house looking consistent from the street?
Which rooms should I do first if I can't do the whole house at once?
How much do window treatments for a whole house cost?
How long does a whole-house window treatment installation take?
Do I need to measure my windows before the consultation?
Keep reading
All of Design & Buying Guides-
 Design & Buying Guides
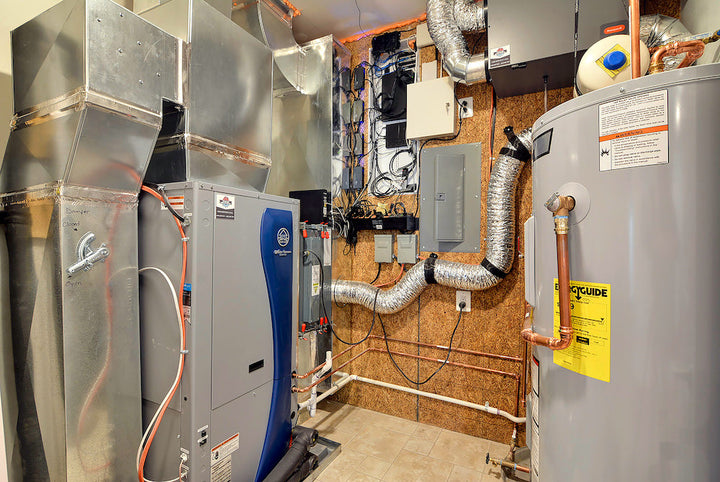
What Can I Store in My AC Closet? A Service-First Guide for Orlando Homes
Nov 20, 2026
-
 Design & Buying Guides
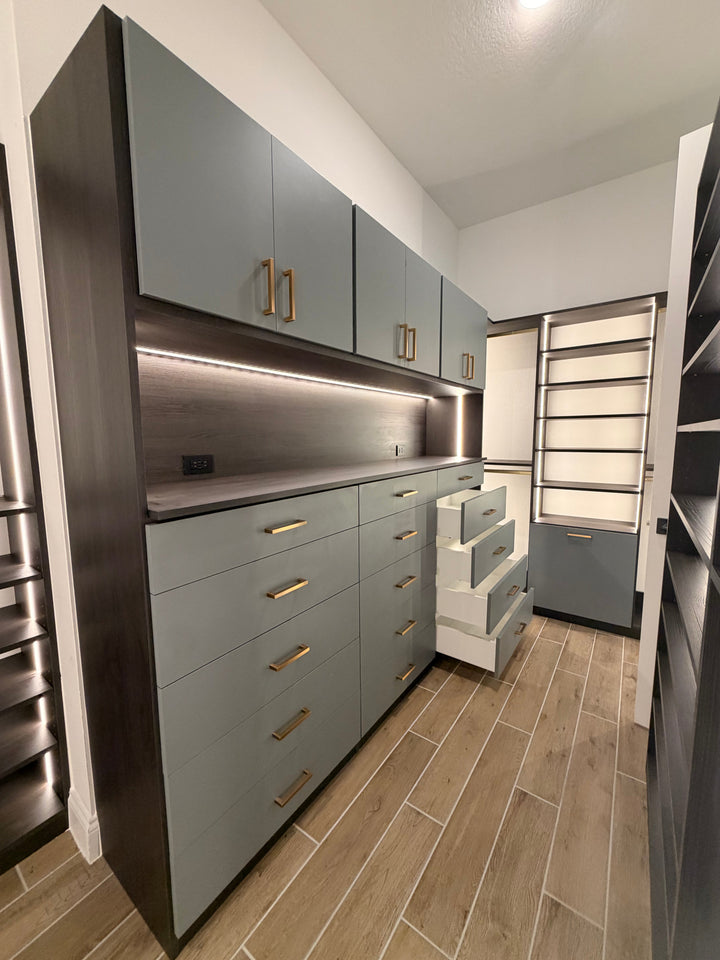
Add Storage Instead of Moving: An Orlando Homeowner's Room-by-Room Plan
Nov 19, 2026
-
 Design & Buying Guides
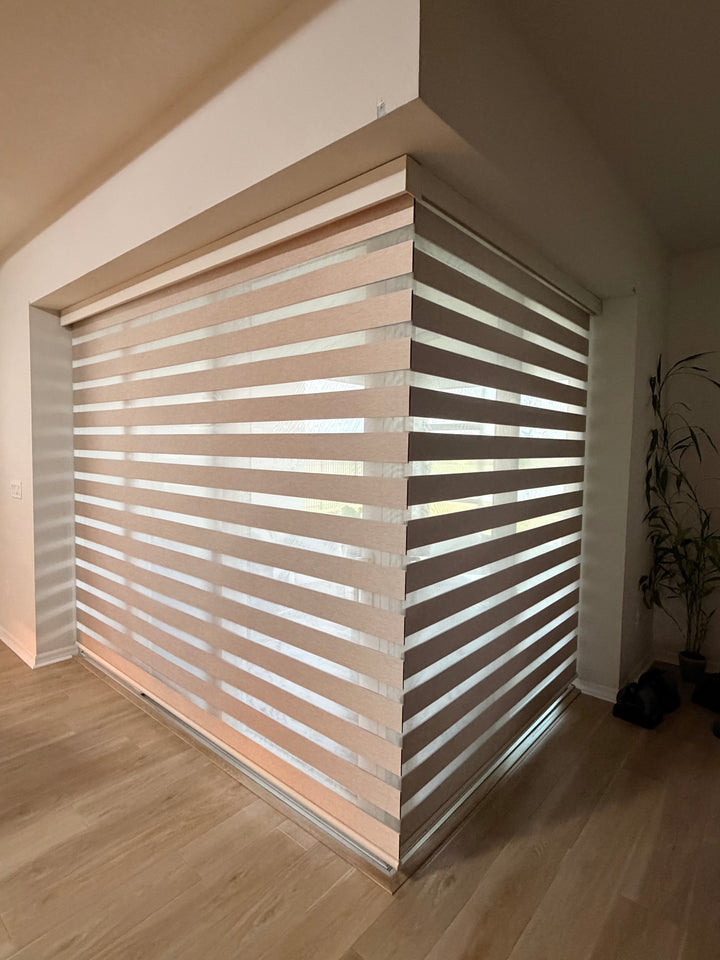
Window Blinds Store: What to Expect and How to Choose One Near Orlando
Nov 16, 2026
